Love your iMac or MacBook Pro? Want to know how to get the most out of it? You’d be amazed by just how many handy features and helpful tools Apple devices have built-in. So we’ve put together a list of 5 great Mac tips you should know! Make sure your device is updated to the latest available version of Ventura to ensure you have access to all these great features.
1. Tidy up your desktop using Stacks
Does your desktop always look unruly? A mess of screenshots misnamed files and random Word documents? Stacks is a simple tool that can organise your desktop instantly. Cut out the time-consuming task of creating folders and manually sorting files.
If you’re using macOS Ventura 13, follow these simple steps to turn on and customise stacks.
On your Mac, click the desktop, then choose View > Use stacks or press Control-Command-0. You can also Control-click the desktop, then choose Use stacks.
Browse through files in one of your desktop stacks by swiping left or right on the stack using 2 fingers on the trackpad or one finger on a magic mouse.
To expand or collapse a stack simply click it on the desktop, and double-click to open the desired item. To collapse a stack clicks its Down Arrow icon.
You can group stacks a few different ways, by kind such as screenshots or PDFs, by date, or using Finder tags. If you’d like to change how desktop stacks are grouped simply click the desktop, choose Group Stacks By, then select an option.
For a full rundown on stacks, including the steps for different macOS head over to the Apple website for detailed instructions.

2. Open new possibilities with the option key ⌥
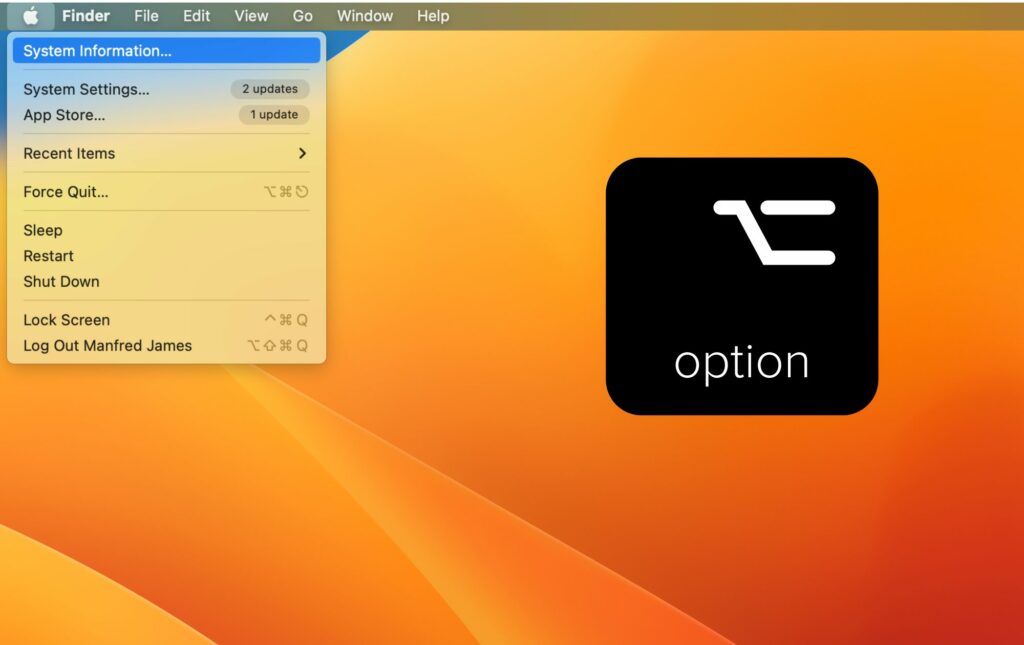
This is a great user interface technique that shows new options on menus. Simply hold down the Option key when clicking on a menu. Not every menu has hidden alternate selections but here are a few of our favourites.
The Apple menu; when this is clicked while holding the Option key it offers you a “System Information” selection. This is a great tool if you’re wanting to get a deeper understanding of your computer system and its health. Information even includes the details of the attached and connected devices. It’s also a great place to check the health of your MacBook’s battery.
The View menu; If you use Safari as your default browser and find the text a little small this tip is for you. Zooming is a good option to make things appear bigger but can make the amount of a page that is visible quite limited. In order to make the text larger without compromising the amount of screen you can view, hold down Option when selecting the view menu whilst using Safari, this provides a “Make Text Bigger” option.
The File menu; if you have a file selected in the Finder, hold down the Option key and click the File menu in the menu bar, this will show you the Always Open with menu item. This is a great way to change the default application that’s used to open the selected file. This change only affects the selected file and not others of the same file type.
3. Save time with Search Results SnapBack
Have you ever started an online search about a particular topic, only to end up meandering after various links, ads or embedded videos catch your attention? It’s easy to get distracted and fall into a rabbit hole of endless link-clicking without finding much about what you we’re looking for.
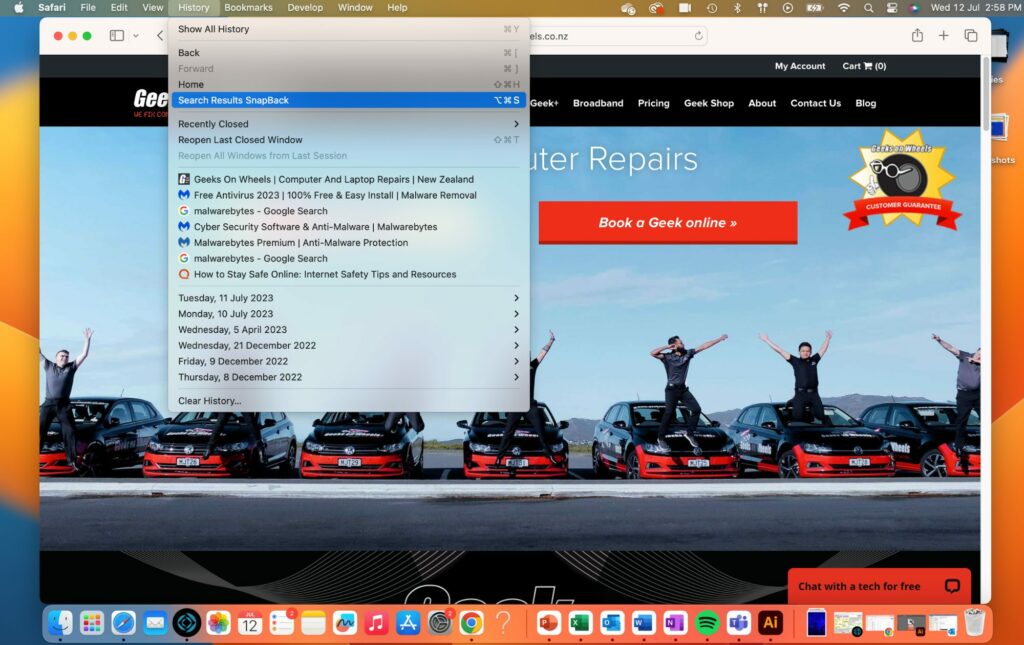
Save yourself time tediously clicking the previous page button multiple times to return to the original search results, or flicking through your web history. Simply click on History -> Search Results SnapBack in the Safari menu bar, or use the Command-Option-S keyboard shortcut.
Search Results SnapBack will take you to the original search results in an instant with only one click. Bear in mind this only works if the search was performed from Safari’s address bar or from the website of your default search engine.
4. Resize Your Windows Evenly
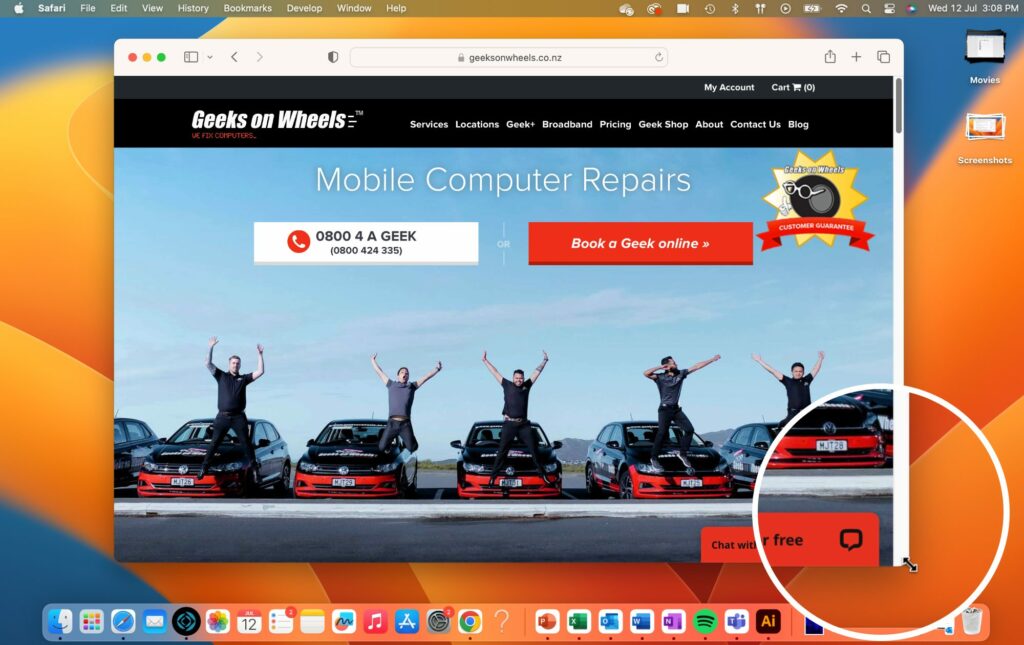
Keep the centre of your window in frame when resizing. Simply hold down the Option key whilst dragging your mouse from the side or corner of a window to resize it. This way you don’t end up zoomed in on one specific corner of your window needing to scroll back to the centre.
5. Take Your Multitasking To The Next Level With Split View
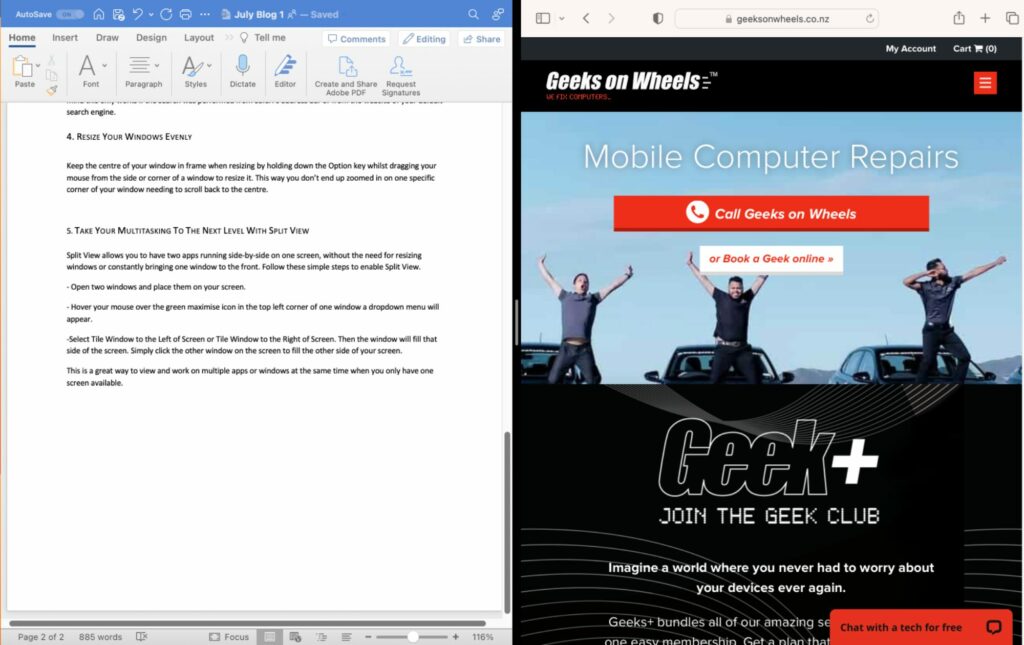
Split View allows you to have two apps running side-by-side on one screen. Cutting the need for resizing windows or constantly bringing one window to the front. Follow these simple steps to enable Split View.
- Open two windows and place them on your screen.
- Hover your mouse over the green maximise icon in the top left corner of one window a dropdown menu will appear.
- Select Tile Window to the Left of Screen or Tile Window to the Right of Screen. Then the window will fill that side of the screen. Simply click the other window on the screen to fill the other side of your screen.
This is a great way to view and work on multiple apps or Windows at the same time.
If you’re in need of Apple computer repairs we might be able to help! Our friendly techs are skilled in all things Apple and could probably share a few more tips with you if needed! To book a geek simply click here or call the team on 0800 424 335.