

Have you just bought a new device and can’t wait to get it set up? Transferring files from your old device to your new one should be a breeze, but if it’s not done properly, you could end up with duplicates, syncing issues or, worst of all, missing files. Whether you want to transfer files or data from an old laptop to a new laptop, an old Mac to a new one, or a Windows device to a Mac, we’ve got you covered.
Follow the simple steps below to transfer files from your old computer to a new one, and if you run into any issues, simply give Geeks on Wheels a call!
Backing up your old computer
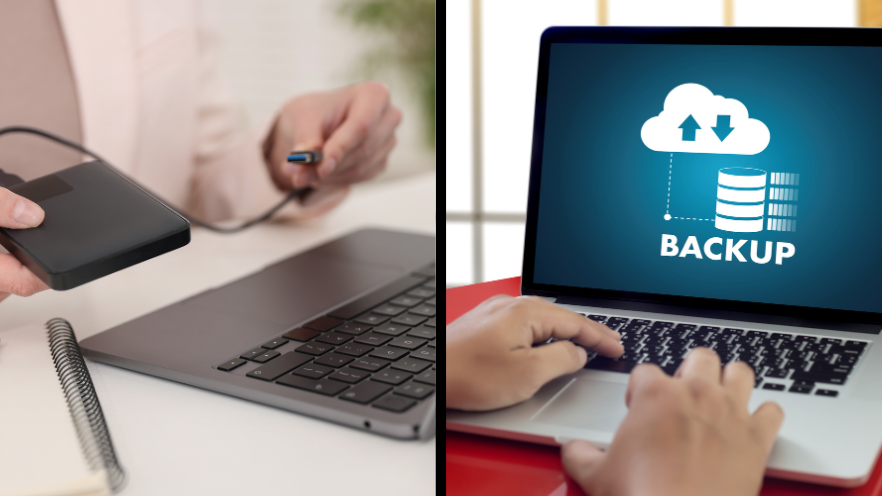
Before you start moving around files or shifting data onto your new device, there’s one thing you must do: back up your files. Backing up is a key part of the process when you transfer files to a new computer.
We’ve encountered too many horror stories of a data transfer gone wrong. Perhaps not everything makes its way across to the new device, or some files are corrupted in the process, meaning they can’t be opened. If you delete the files from your old computer without a backup, then they might be lost forever.
At the very least, data recovery could become a time-consuming and costly activity and is never fully guaranteed.
To back up your device, there are a few main options. You could manually select important files and transfer them to an external hard drive. Or you could use your device’s built-in backup solution.
Windows
To back up a Windows device to an external hard drive;
- Simply plug in your drive
- Open Control Panel using the Start menu search. Here you will find File History.
- Alternatively, you can search for File History in the Start menu search.
- Then select Turn on.
It’s really that simple; once you hit Turn on, File History will back up the files that are in your user directory. This includes documents, photos and videos etc. Keep in mind it won’t back up files from other users on the same device; they will also need to run a backup.
You could also try a cloud backup if you have sufficient space. On a Windows device, use Windows Backup. Make sure you’re signed into your Windows account first.
- Search for Windows Backup in the Start menu search
- Expand folders and select which ones you want to back up
- Click Back up
Windows Backup also lets you back up apps, settings and various personalisations.
Mac
Backing up a Mac device to an external hard drive is super simple. This is thanks to its Time Machine feature. You can use Time Machine to automatically back up your files, including your apps, music, photos, email and documents.
- Plug in your external storage device (Apple suggests using one with twice the storage capacity of your Mac)
- From the Apple menu in the top left corner, choose System Settings
- Click General, then select Time Machine
- Click Add Backup Disk
- Select your device and click Set Up Disk
- Your backup should start automatically
During the setup process, you may need to erase the storage device, so make sure it is a new, empty one not already containing important files.
Transfer files using a cloud solution
Now that you’re all backed up, it’s time to start transferring files to your new device. If you’re transferring from an old Mac to a new Mac device, Apple’s Migration Assistant makes the process very easy. If you’re using a Windows device, one way to transfer files is by using a synchronisation method, which involves cloud storage.
This is the easiest way to transfer data between computers. If you have a cloud storage solution like Microsoft OneDrive or Google Drive, you simply need to make sure that your files are stored in your chosen cloud storage and synced.
To do this, simply install the cloud app or open the website on your first computer. Upload, drag, or copy the files you want to move into your cloud storage folder.
Then log in to the same cloud account on your new device and download or open the files.
Make sure the files from your old device properly upload; usually there will be a loading icon next to the file name if it hasn’t fully uploaded. You can also check the cloud storage app for a “Backed up and synced” message or green tick.
Transfer files to a new computer using an external drive
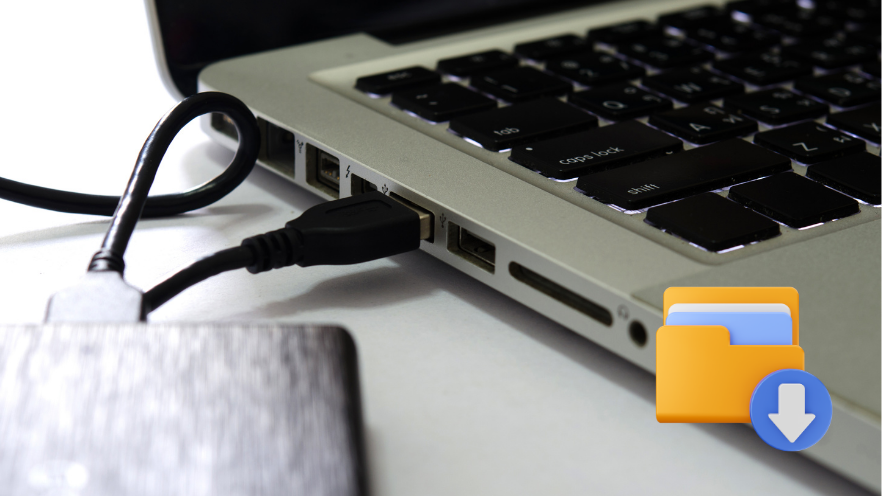
If you don’t have a cloud storage solution, using a physical drive is the next best option. If you’ve followed the backup steps in the first part of this blog, then you simply need to plug in the drive containing your backup to your new device.
- Connect your external storage device to your new Windows PC
- Select File Explorer from your task bar
- Locate the external drive and double-click
- Locate the folder where your files are saved
- Select your files
- Copy and Paste or drag them to the chosen location on your new device
Your files will begin to transfer to your Windows PC. Note that this may take time depending on the number and size of the files you transfer.
On a Mac device, the steps are much the same. Simply plug in and drag and drop.
What will not automatically transfer?
- Programs may need to be reinstalled (or updated to newer versions)
- Email may need to be set up again
- Printers and other devices may need reconnecting
- Saved passwords might not transfer
- Some files may be stored outside the obvious folders
Transferring files from an old Mac to a new Mac
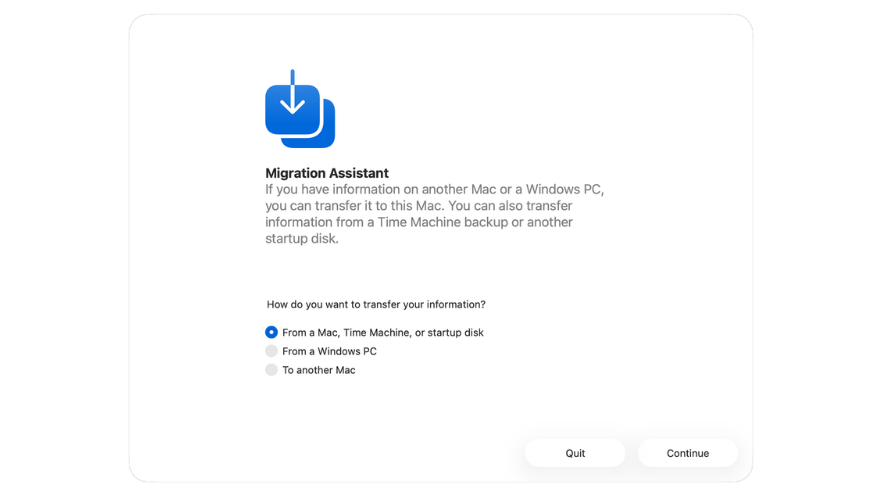
Apple makes the transfer process super convenient. Apple’s Migration Assistant can transfer user accounts, documents, apps and settings from another Mac or a Time Machine backup.
You will need to make sure that each Mac is up to date, has Wi-Fi turned on, and are near each other.
Migration Assistant will open automatically during the first-time setup. If you skipped through this and need to find it later, go to Applications > Utilities. Simply choose to transfer from a Mac or a Time Machine Backup.
If you choose Time Machine Backup, you will need to plug in your external drive.
On your old Mac: Open Migration Assistant and choose to transfer to another Mac. Match the security code that appears on both screens.
Choose the user accounts, apps, and files you want to move, then click Continue.
Triple check
Make sure you keep your old device and triple-check you have all the files you want either backed up or on your new device before you delete any files.
Once you’re certain you’ve got everything you need, be sure to wipe the device, removing your personal details and files and consider what you will do with the device next.
Do you have a lot of files to move, or perhaps you’re shifting from Windows to Mac or Mac to Windows? If you need some help with transferring files to your new device, call Geeks on Wheels. Our expert technicians will have your new device set up and running with all of your favourite applications in no time. From data transfer to troubleshooting or cloud synchronisations, we’re the
