Screen shots are helpful for capturing and sharing information, troubleshooting technical issues, collaborating and giving feedback, and an extensive array of other useful functions! However, it’s hard to keep up with all the different ways to screen shot on different devices! In this blog we’re going to show you how to screenshot on Windows and Mac. So, if you find yourself forgetful when it comes to how to screenshot on Windows and Mac, make sure you bookmark this blog to save you time in the future!
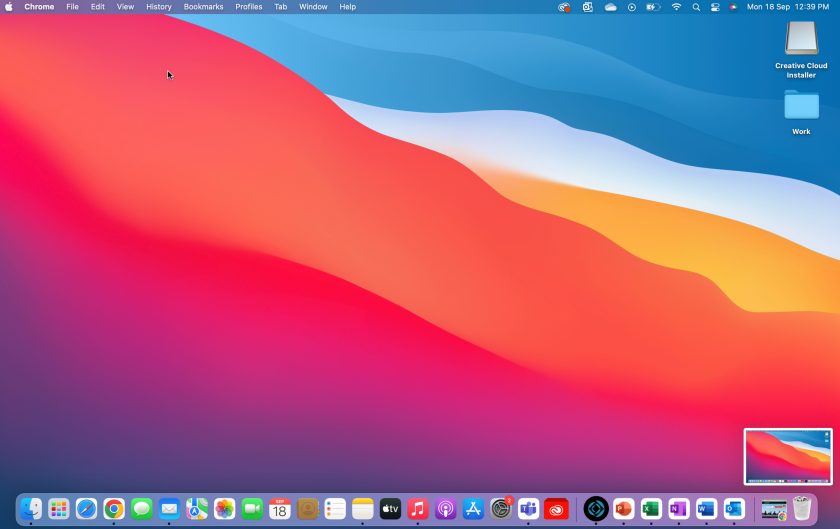
Capture the entire screen on Mac
If you’re after a complete snapshot of your entire workspace or content, you’ll want to capture your Mac’s entire screen.
To do this, you’ll simply need to press and hold down the ‘Command’, ‘Shift’ and ‘3’ key.
Your screenshot should then appear and be easily accessible on your desktop.
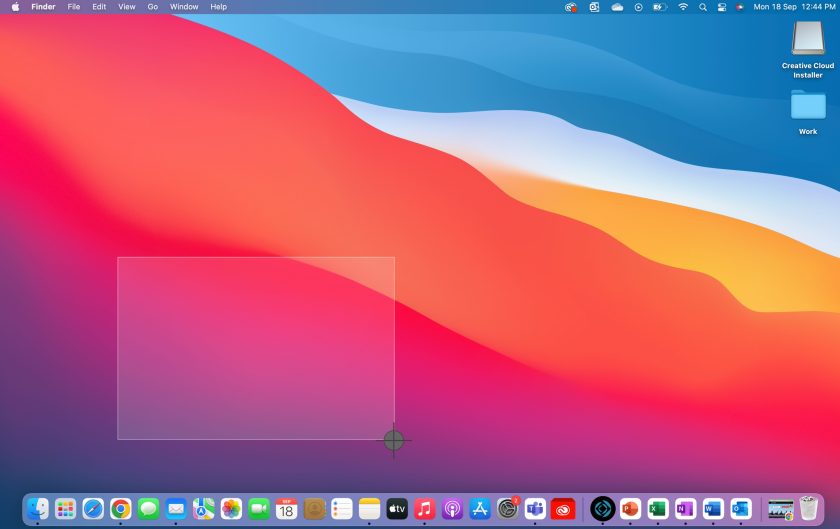
Capturing part of your screen on Mac
If you’d rather take a screenshot that focuses on relevant information and eliminates the less relevant, you’ll want to use Mac’s keyboard shortcut that allows you to only capture part of your screen.
To do this, press and hold down the ‘Shift’, ‘Command’ and ‘4’ keys. This action will then change your cursor into a crosshair. After that, simply click and drag the crosshair to select the area of your screen you’d like to capture. To take the screen shot, simply release your mouse or trackpad.
After that, you’ll find the captured screenshot on your desktop.
Capture the entire screen on Windows
To take a full screenshot on Windows 10 or 11, press and hold down the ‘Windows’ and ‘Print Screen’ key. This Windows keyboard shortcut is perfect for preserving the context and layout of your entire screen.
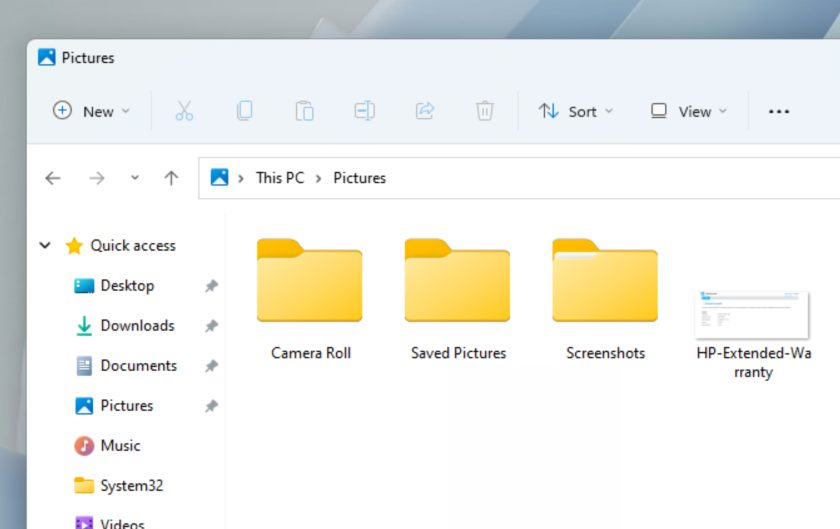
After the entirety of your screen is captured, your screenshot will be saved in your Screenshots folder.
To locate your Screenshots folder, open File Explorer (press and hold down the ‘Windows’ and ‘E’ key) then click Pictures in the left side panel.
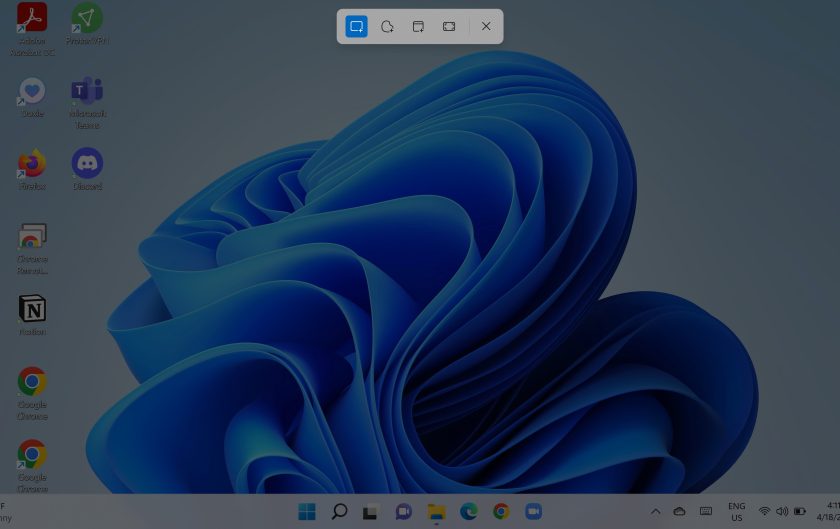
Capturing part of your screen on Windows
If you’d like the choice to customise the size and content of your screenshot, you’ll need to use Window’s snipping tool.
To do this, click and hold down the ‘Windows’, ‘Shift’ and ‘S’ key. After that a small panel will show up with the option of different shapes for you snip. The default will be your classic rectangle mode.
Similar to Mac, your cursor will also change to a crosshair. Simply click and drag the crosshair to select the area of your screen you’d like to capture. To take the screen shot, release your mouse or trackpad.
And there you have it. Your simple cheat sheet on how to screenshot on Windows and Mac! If your Mac or Windows devices are in need of computer repairs, or you simply need assistance with tech repairs in Auckland or the rest of New Zealand, Book a Geek today!